

Friday, June 25, 2010

Feature Friday: with Making the World Cuter

Hi Everyone!

I'm Tiffany, you can call me Tiff.
I live in an itty bitty small town in Oregon with my hubby hottie of a man, Chad...
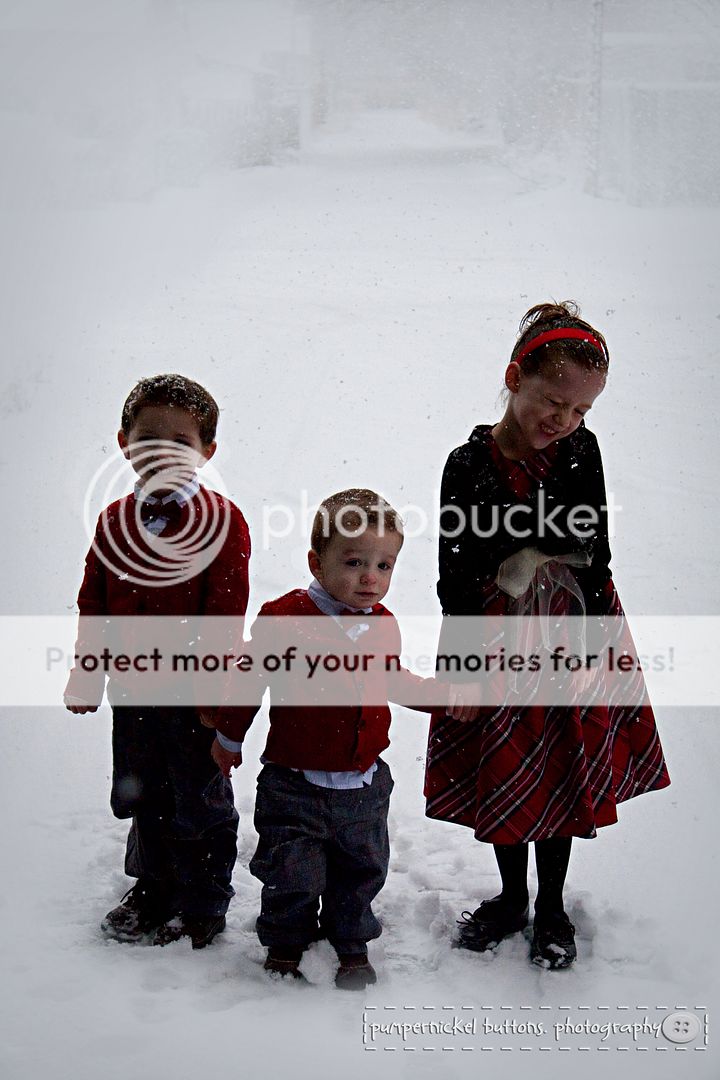
...and these three beautiful, funny kids who make me happier than anything, with one more little fella coming this fall! Wow, lucky me!
I hope you'll come join me at Making the World Cuter;
Here's a little glimpse of what goes on, I am pretty consistent, but I will admit I take a break to snuggle my kids once in awhile and will miss a day. Or like right now while I'm on vacation visiting my mom in Portland and can't seem to get any time on a computer during the fun filled days.
  • Monday-Making the World Cuter Mondays-a linky party for you to show off all the cute things you have made in the past week
  • Tuesday-Toot Toot Tuesdays-Where I share a new, usually on the cheap, tutorial to make something crafty and fun.
  • Wednesday-WooHoo Wednesdays-Sometimes we'll have giveaways, sometimes a yummy recipe, sometimes a bonus crafty something.
  • Thursday-Three things Thursdays-Just a day to share three things that have been going on, or talking about my three "things" or whatever.
  • Friday-Friendly Friday-Your looking at it! Swapping with the fun and cute blogs all over the place and having a blast making new friends! :)
I always have something going on over there, here are a couple little "tastes;"

This is a little easy project that is self explanatory (but I have the step by step tutorial), and would be great to make in patriotic colors for your upcoming Independence day celebration- fun felt napkin rings.Or how about whipping up some yummy S'more cupcakes this weekend and letting your kids (and you) get all sticky and gooey and completely happy?
Thanks so much Sharla for having me! Love your blog, your projects and everything you do to make the world so much dang cuter!

Make sure to check out Making the World Cuter- it is one of my favorites- love the title! And I love that Tiff has something fun going on just about everyday!
And if you would like to be featured, or do a swap, please email me at little gems crafts (no spaces) {at} g mail {dot} com.

Happy Weekend!!


post signature

Thursday, June 24, 2010

The Boys Bunk bed Make-over

Remember this? I know it was just a few posts ago...well here it is in all its bunk bed glory:
(I have about 3 different sets of bedding for these beds- to give it a different look-and plus you need extra bedding with little boys :))


Here it is before:

AND NOW IT LOOKS LIKE THIS:
  The DETAILS: The color is Oxford Blue in Satin by Krylon. The orange fabric boxes are from Target- clearance- used to store toys. The bedding is Ikea duvet covers- without duvets in them- because it is just too hot right now- and the pillows I made a while ago. Later I'll show you the other bedding I have (one still has to be made.) And it case you are wondering -the paint on the walls is Richmond Bisque by Benjamin Moore- but I had it mixed at Home Depot w/ Behr paint- I love this color- it is a great tan color- and I love how it looks with the bright colors.

And here is a sneak peek of the other decor in the boys room (not done yet) :

I love a cute boys room! The problem with little boys, is that they trash it just about everyday. :) ugh. If only they could keep it looking like it was a room in a magazine. No such luck here. Well when I have it looking "magazine ready" I'll show you-- before they trash it yet again. Love you little boys!

Speaking of little boys- my littlest boy is one today! Better go get ready to party!


Thanks for reading!

post signature

Wednesday, June 23, 2010

Win, Lose, Blog...and Get Healthy

I am still here. It has been a very busy month. I have lots to share with you- including the Arizona Tour De Thrift- I attended last weekend- it was so much fun.

In case you haven't heard about Win, Lose, or Blog, I thought I would share it with you. :) A few of the gals in the craft blog world, are involved with this- and I think it is just a super fantastic idea. Check it out- there are lots of fun tips and ideas for everyone to get healthy and in better shape. And give a shout-out to the brave contestants who are sharing their journey with us.


And speaking of better shape, and losing some pounds, I just have to say that is exactly what has happened to me the past several weeks. MOVING is the best weight loss plan ever! We literally moved- to a new town and house-but just moving more- seriously- can help you lose the bulge and extra weight! I still have a ways to go, but in the past few weeks from moving more, and sitting less, I have lost more than 5 lbs. of pure lovely baby fat. And the boy turns one this week...so it is about time to shed  it all. :)

More to come- hope you are having a great summer!!


post signature

Sunday, June 20, 2010

Happy Father's Day

Happy Father's Day to all the great dads/grandpas out there!

If you look closely at this photo you can see a little foot. Daddy was holding the baby  on the other side in this photo.

this photo was taken in early 2009- a day at the zoo


"My daddy is my favorite pal,
And he helps me everyday.
It's plain to see,
I want to be like Him in everyway.
He teaches me that honesty is best in all I do.
I'm very glad that He's my dad;
And I know He loves me too!"
post signature

Friday, June 18, 2010

Feature Friday: Steph from Somewhat Simple-Fabric Flower Tutorial

It has been a busy few weeks for me! And it isn't over yet! BUT I have a great post for you....one of my favorite bloggers is here- Steph at Somewhat Simple- she is amazing- make sure to check out her blog{s}!


Happy Friday Everyone!!!
 I am excited to be guest posting Sharla's site today. Please excuse me while I make myself comfy...

My name is Stephanie and my little corner of the universe is called SomewhatSimple

The tutorial I decided to share with you is officially my favorite thing to make right now because its super easy and very cute!!!
I found quite a few tutorials online, each of them similar but different. Here is my perfected, yet simplified version: 

Materials Needed:


Scissors, needle & thread, glue gun, button, headband, 1 piece of rectanglular fabric (approx. 1/2 inch by 1 inch) and 6 fabric circles- 2 large and 4 smaller.

*You can use any size circles you want, just make sure you have 2 of the same size for the larger circles and 4 of the same size that are smaller than the large ones. You can use all the same fabric, but for this I am using denim for the large circles and a cute print for the smaller ones.

Ok, here is a video I made to show you how to assemble your flower- its easy easy easy!


(For those of you who know me in real life, please tell me my voice isn't that annoying!!!)

Once you stitch your petals and your button in the center, you get to decide what to do with this pretty little flower. I decided to make some headbands. Here is one more video of me showing you the easiest way I found to attach your flower to a plastic headband.


You can find headbands super cheap at WalMart (4 for $1) and also the dollar store. No need to spend a ton!

And that's it! So easy and super cute!

(doesn't really match my 3 year old's purple Jonas Brothers PJs, but thats ok!)

Here are some more that I made:

Give it a try and let me know how it works for you!


I would love to have you come visit me at somewhat simple and see what else I've been up to! Every day is different and each day is something fun! If you come right now, you can still add your link to our Strut Your Stuff Link Party that I host everything Thursday. Consider yourself personally invited!

Sharla, thanks for having me as your guest today!
Have a great weekend everyone!

 I love these "hair flowers" and have even made a few for myself {being that I have all boys}. Thanks Steph!
Steph has some great blogs- so make sure to stop by and check her out!

If you have a crafty blog, I would love to feature you. Please contact me at little gems crafts {at gmail dot com.}

post signature

Thursday, June 17, 2010

Spray-painting a Bunkbed {or becoming a DIY crazy person}

I think I have gone crazy. Seriously, who spray paints a bunk bed?
raise your hand (leave a comment) if you have done this so we can be crazy DIY friends...☻ ☻ ☻


Please excuse my prolonged blogging absence. We are still in the middle of a move and it has also been crazy! And while we are trying to move, we decided it would be the perfect time to re-do the boys bed. {crazy}
We bought this bunk bed a year ago off of Craig's List. We thought it was a good deal, until we discovered the same bed...at Walmart.....for almost the same price but brand new of course. Dang it! That is the only time I have not found a good deal on Craig's List.
I so wanted a blue bunk bed like this one here that I could never afford.
And I {for years} have had this vision of a Pottery Barn boy's bedroom.
{that I have planned to recreate for a fraction of the cost ...someday}
It is finally someday. ☻


So after buying spray paint and returning it for another color and doing that again, we finally decided on Oxford Blue, Satin finish. We began our biggest-- spray- paint- crazy- person- project- ever. Although I did this in an open garage, with a fan, and with a mask-which I could only stand to wear for so long-  I still got SICK. I mean sick. Because, guess how many cans of spray paint it takes to do a bunk bed?


It takes about TEN cans to do a bunk bed. I am getting dizzy just thinking about it.
I hope it was worth it.
Too late now.
The bed is done.
When the room is all put together....and I can't wait... I'll show you my thrifty boy's room:)
And I think we are done with spray paint for a while- although this morning my husband spray painted some of our old ceiling fans. :)
It is such a quick and easy fix- darn stinky spray paint.

Thanks for reading!
post signature

Friday, June 4, 2010

The Red Desk Is Done!

It is finally finished!
This desk took us quite a while to refinish- mostly due to not having any free time! My husband did a large part of the work-sanding, priming, and we both did the painting. He bought this for me last summer for $35. The date on it was sometime in the 1960's.  Here is what it looked like:

BEFORE
It sat in our garge for months before we even started working on it. My husband....well he is a genuis..pretty much. :)  The drawers did not slide in and out really well, so he got some flat thumb tacks, and attached them so that now the drawers slide in and out very smoothly. He had to purchase a few screws for re-attaching the top, since the old ones were really worn out, and we purchased the new hardware. Total amount spend: $35 for the desk, plus about $20 primer and paint, and about $20 for the hardware- total about $75-80.

Picking red paint can be difficult... You don't want to get a color that is not too orange or too pink when what you really want is a true red. We used Glidden (because it was on sale at the time) Red Delicious in semi-gloss-because I did want a shiny red desk. This red is a true red. 

For the inside of the drawers, I picked up this cute wrapping paper from Target for a dollar, a while ago, and it was perfect for lining the drawers. I just taped it for now, in case I want to change it later. :)


Here it is dressed up with flower pens, and a fun runner....Since we are moving in a few days, this isn't going to be its home. I just had to enjoy it inside the house, since it was sitting in the garage for about a year.
Can't wait to fill up the drawers and put it to good use!

Thanks for reading! Happy Weekend.


post signature